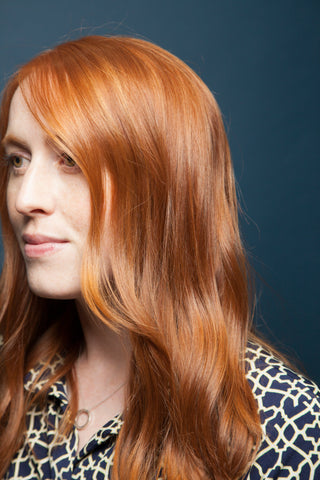
Way one: beach waves
If you have a picture in your mind of your dream hair, it’s most likely beachy waves; loose curls with ever so effortless Grecian Goddess vibes. But alas, although the look may seem effortless, this particular style is deceptively tricky to get right. If your curls are too tight, you’ll look like you’re going to an 80s prom. And if you fail to protect your style, a hint of rain will turn your locks back poker-straight before you get chance to put up a brolly.
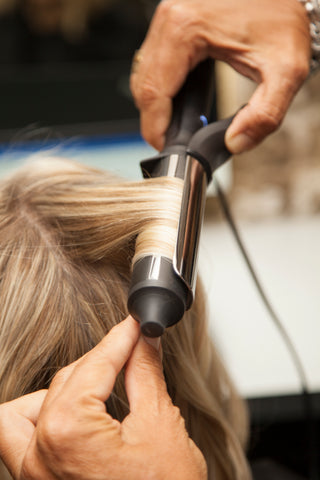
Talking to Josh Wood Colour Associate Stylist Kat De Rozario, she recommends using a GHD 26mm Classic curl tong: “A larger barrel will also work, but it creates a much bigger, looser wave. I would definitely recommend the smaller barrel if your hair is breast bone length or shorter”.
Now we’ve got our tools, Kat advises to work with texture rather than against it; remember, beachy waves are all about looking natural: “Either grab random pieces for a quick low maintenance groom, or section off areas of the head, starting at the bottom, to get full coverage.”
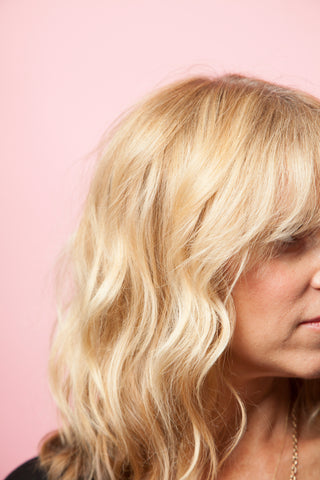
How-to:
- Hold the very end of the section, there should be no hot metal near flesh (safety first!).
- Keep the wire end of the tongs up. Either open them and use them as intended for a tighter curl or use them like a wand for a more natural look.
- Keep the barrel in the middle of the hair, not too close to the root. Place the tongs on the middle section and wind the hair down the barrel, leave the ends out.
- Hold for 3-5 seconds, remove the hair and pull the curl away from the head to loosen. If your ends need a touch up, open the tongs and smooth them.
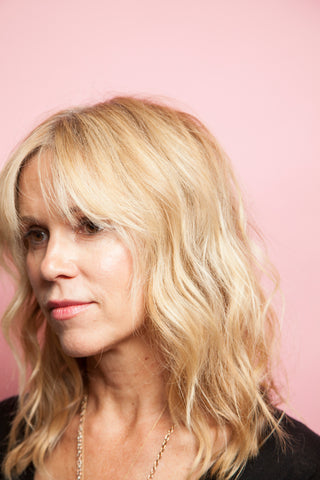
Way two: glamorous waves
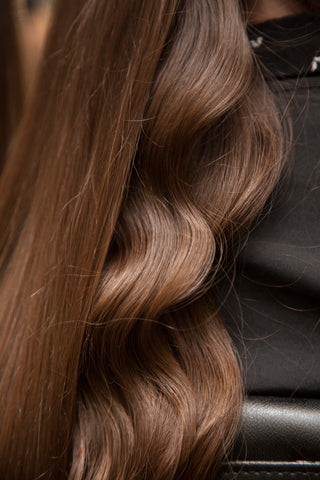
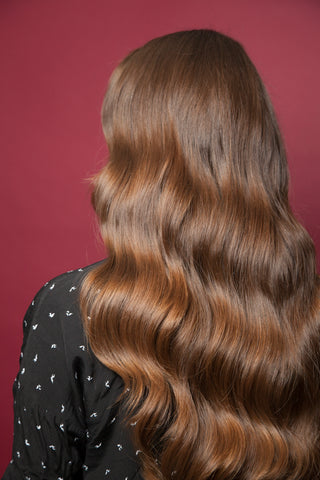
These waves are the sleek, glossy style you see all over catwalks and red carpets. They’re smooth and defined, without being ‘pageant queen’ curly. The key to this look is to twist your hair as you curl it; by twisting the individual sections you get a defined wave without the corkscrew curl.
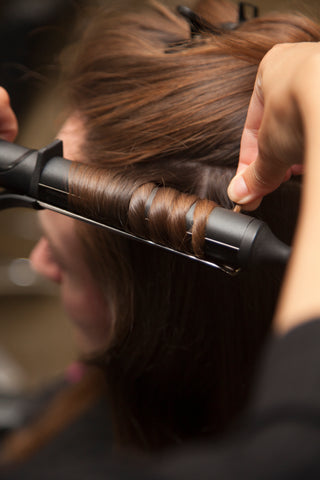
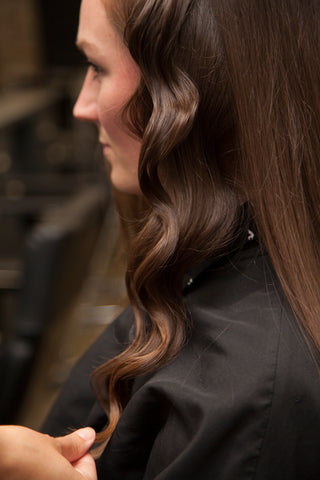
Josh Wood Colour Associate Stylist Noemie Renvoize advises using a small barrel curler, no matter what length hair you have. If your hair is long and thick it might be tempting to use a larger barrel to get it done quicker, but this will result in a loose curl rather than a defined one, a larger barrel curler means your look will also ‘drop out’ sooner.
How-to:
- Take sections of hair and twist it loosely in your fingers.
- Hairspray the section, then wrap the twisted sections around the curler in the clamp, from the roots to the end.
- Twist hair as you’re curling (this stops it being a ‘prom curl’) and wrap the curl as tight as possible within the clamp.
- Curl all the way until the end Repeat for all sections of head, but once you get halfway across your head, twist hair in the opposite direction, for symmetry.
- To stop it looking too ‘done’, shake the curls out from the ends, but don’t touch the curls.
- For extra smoothness, lightly brush through, but don’t try and add texture or ‘mess it up’. Finish with hairspray for hold and shine spray for sleekness.

Way three: blow dry waves
Blow dry waves are beachy waves’ little sister, often implemented for a very natural look, or to side-step the potential damage associated with curlers. Blow dry waves will give a softer outcome, but will outlast waves created with heat tools, so are better if you’re looking to prolong your look over a few days.
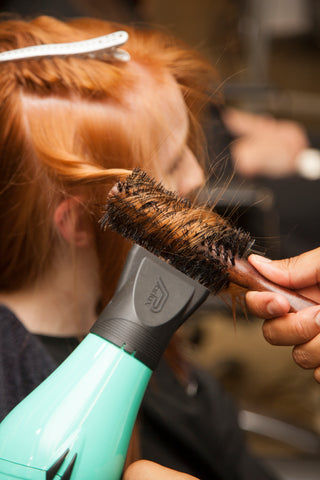
Assistant Stylist Mason advises that, whatever hairdryer you use, always use the highest heat and highest speed possible, combined with a medium round brush. Mason advises a boar bristle brush, as it provides more tension when pulling the hair, and therefore a better curl.
Mason tells us that whilst he personally prefers a medium brush, brush size does matter; a small brush will help you achieve a tighter wave, whereas a medium brush will provide medium sized waves, and a large brush will give you an undone, messy look.

How-to:
- The first step is to add a volumising product to your hair. If you’ve got fine hair, the product will give your curls volume, but if you have lots of thick hair, the volume products will lend your hair enough tension to keep hold of the style.
- Wash your hair and add the volumizing products to towel dried hair. Mason suggests using Redken ‘Rootful’.
- Rough dry your hair with a hairdryer until it is about 85-90% dry; your hair needs to be damp to change the shape of it but can’t be soaking.
- Section hair down the middle, or if you have a defined parting, bring it all the way back so it starts from the back of your head. Start at the front in thin, 3nch vertical sections.
- Take pieces of hair and twist them away from the face to recreate the ‘hair behind the ear’ look. By twisting them in this way before drying, a soft, natural looking wave will be achieved – if the pieces are turned towards the face in the curling process, the end result will look unnatural.
- Lift your hair up, lean over and aim the hairdryer at the roots, Start twisting pieces of hair from the roots, push your brush into the roots and gain tension. Then, with the hair wrapped around the brush, pull the brush down, twisting slowly and blow drying as you go.
- Leave each section to set before you pull them out, remember, ‘cold sets the curl’!
- Make sure each section from half your head is twisted one way, and then twist the hair on the other side of your head the opposite way.
- When it comes to the last section, let it all cool down for five minutes, then use a texturizing spray or a dry shampoo to add some texture to the look; spray it in the roots, and through the hair, and then pull it out. Run your fingers down through the hair, shake out the curls, and enjoy! To make it work for a second day, ‘joozh’ (hard to spell – but you know what we mean!) with more texturizing products or dry shampoo, Mason recommends Josh Wood Colour Tinted Dry Shampoo Spray.
