“For first-time colourers I would recommend a consultation with a professional if possible, it's by far the easiest route to finding the right colour for you,” says Josh. It's exactly why we have just launched our complimentary 1-1 video colour consultation service to connect you with our expert colourists, from the comfort and safety of your own homes. And here's the process they'll take you through if you want to try it out yourself.
First of all, identify the result you can realistically achieve at home, are you looking to cover grey or refresh your salon colour? Josh's advice for colouring greys away at home is to go for a natural finish, close to your natural hair colour. It's not the time for a dramatic overhaul, with 'technique' driven services such as highlights or balayage best left to the experts
If you're looking to cover grey roots, match your natural hair colour in the root regrowth to a Josh Wood hair dye Permanent Colour Kit. "Part your hair straight back from crown to nape, clip the hair out of the way on either side, and photograph the middle in natural light. This will help you identify what your base shade is and the colour you should match too. “The most common mistake is going too dark when buying at-home hair colour,” says Josh, “so I always recommend going half a shade lighter than your first guess if you’re unsure.”
For those of you with highlights or balayage, look for products that can keep your colour fresh and hair healthy, until you can get back into your colourist's chair. A gloss will add shine, refresh the existing colour and boost condition.


Select a tone to suit your skin and eyes
"When a professional colourist looks at a client's hair, we are trying to assess whether they suit a warmer or cooler tone or colour finish.” says Josh. "We look at your skin and eyes and the clothes or makeup you're wearing as most people know what suits them, even if they're unaware that it's cool or warm toned. To help you decide whether you are warm or cool skin toned, start by looking at your vein colour. If they're mostly blue, you're probably cool-toned. If they're more green, you lean towards warm-toned. In general those who are mostly cool-toned should pick a cool hair colour, and warm undertones look best with a warmer tone. If they're somewhere in between, you're neutral and both warm and cool tones will suit you.
So why does this matter we hear you ask? Josh created Shade Shot Plus to allow you to customise your colour with warm or cool tones, when mixed into your Josh Wood hair colour Permanent Colour Kit. It reacts with your hair to create an array of natural-looking tones that are completely unique to your hair, for a modern, multi-dimensional colour finish. So there's zero fear of block colour! For dark brunettes, the Smoky Shade Shot adds cool, dark tones neutralising any unwanted red tones; or Chestnut adds rich, warm, reddy tones. For blondes, Champagne adds warm, golden, sun-kissed tones and Icy gives a clean, cool, ashy finish, neutralising an brassy yellow tones.
So where do I start? With a patch test...
“First things first, you should always complete a patch test 48 hours before applying any permanent colour. It’s always better to be safe than sorry," says Josh.
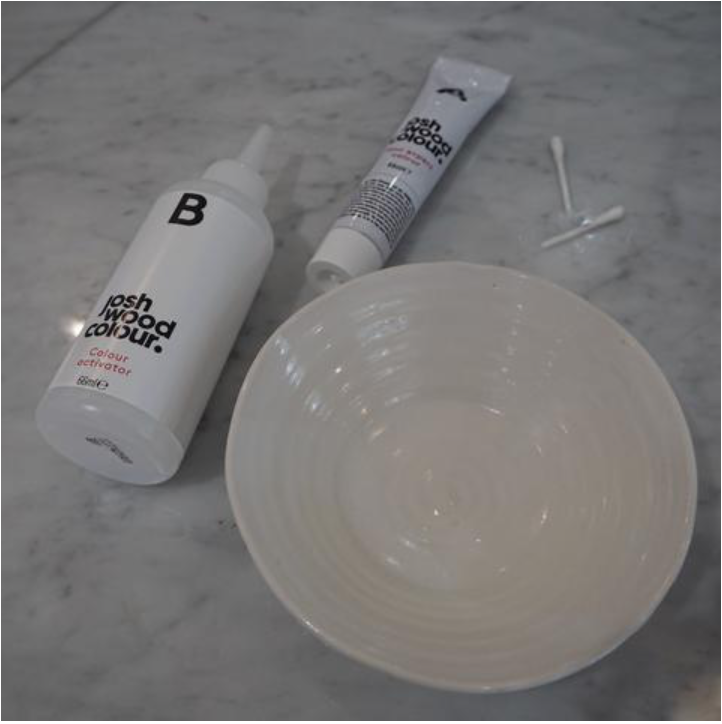
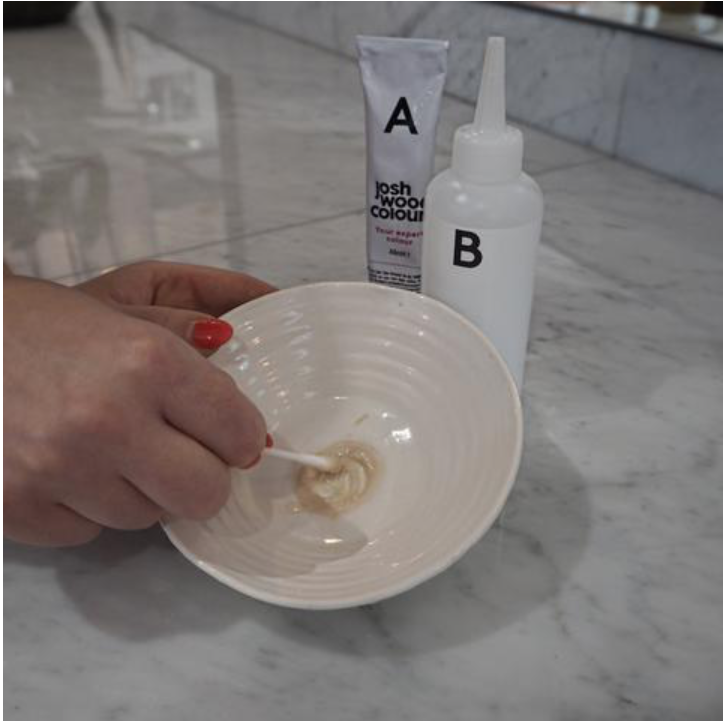
- Mix a coin-sized amount of the activator and the colour together in a bowl.
- Use a cotton bud to apply a small amount behind your ear.
- Leave it on for 48 hours, you shouldn’t even notice it’s there. Try not to wash it off within this time frame.
- Tip: It’s very important to fasten the caps on the bottles tightly after you have opened them for the patch test. If you do not, the products may oxidise, and the active ingredients will not work.
- If you have any signs of reaction to the patch test, wash it off immediately and do not use the colour.
- If you show no signs of reaction to the dye, go ahead and use the colour as instructed.

What next?
“I always get organised before I start a client’s colour; it just makes the whole process much easier. Lay out everything you need in front of you: empty out your colour kit components, have a good read through your instructions, make sure you have a dark or old towel to hand along with a brush and clips to make sectioning your hair easier. Our kits contain barrier cream, a stain removing wipe and salon grade gloves.”
What do I do with the barrier cream?
Any application tips?
- Start by putting the gloves on.
- It's really important, especially on long hair, to really give it a good brush through first.
- Section your hair into four sections, using clips to secure in place. The neater the section, the neater the application.
- Always apply colour on dry hair.
- Mix A into B, and add the Shade Shot Plus in too. Squeeze the colour from the top down, like toothpaste. Shake until you can tell all of the colour is absorbed in the bottle.
- Get the product to the end of the nozzle, so you can see it's there and ready to go. Start by squeezing and dotting right down the hairline and then with your fingers gently massage that in, pushing the colour into your roots.
- Always start your application where you feel the grey hair is most resistant, and for most people that is on the hairline.
- Look really closely in the mirror to check if you've covered all of the hairline. Always blend the colour away from your face, you don't want to pull the colour onto your skin.
- When you've finished applying your colour take one side of the stain removing wipe to remove any colour stains now, and save the other side for when you've shampooed the colour off.
- Let the colour develop on your roots for twenty minutes, before brushing through the lengths and ends for the last 10 minutes.
- When your 30 minute timer goes off, keeping your gloves on, rinse the colour off until the water runs clear. Shampoo your hair and rinse again before applying your deep-conditioning treatment.
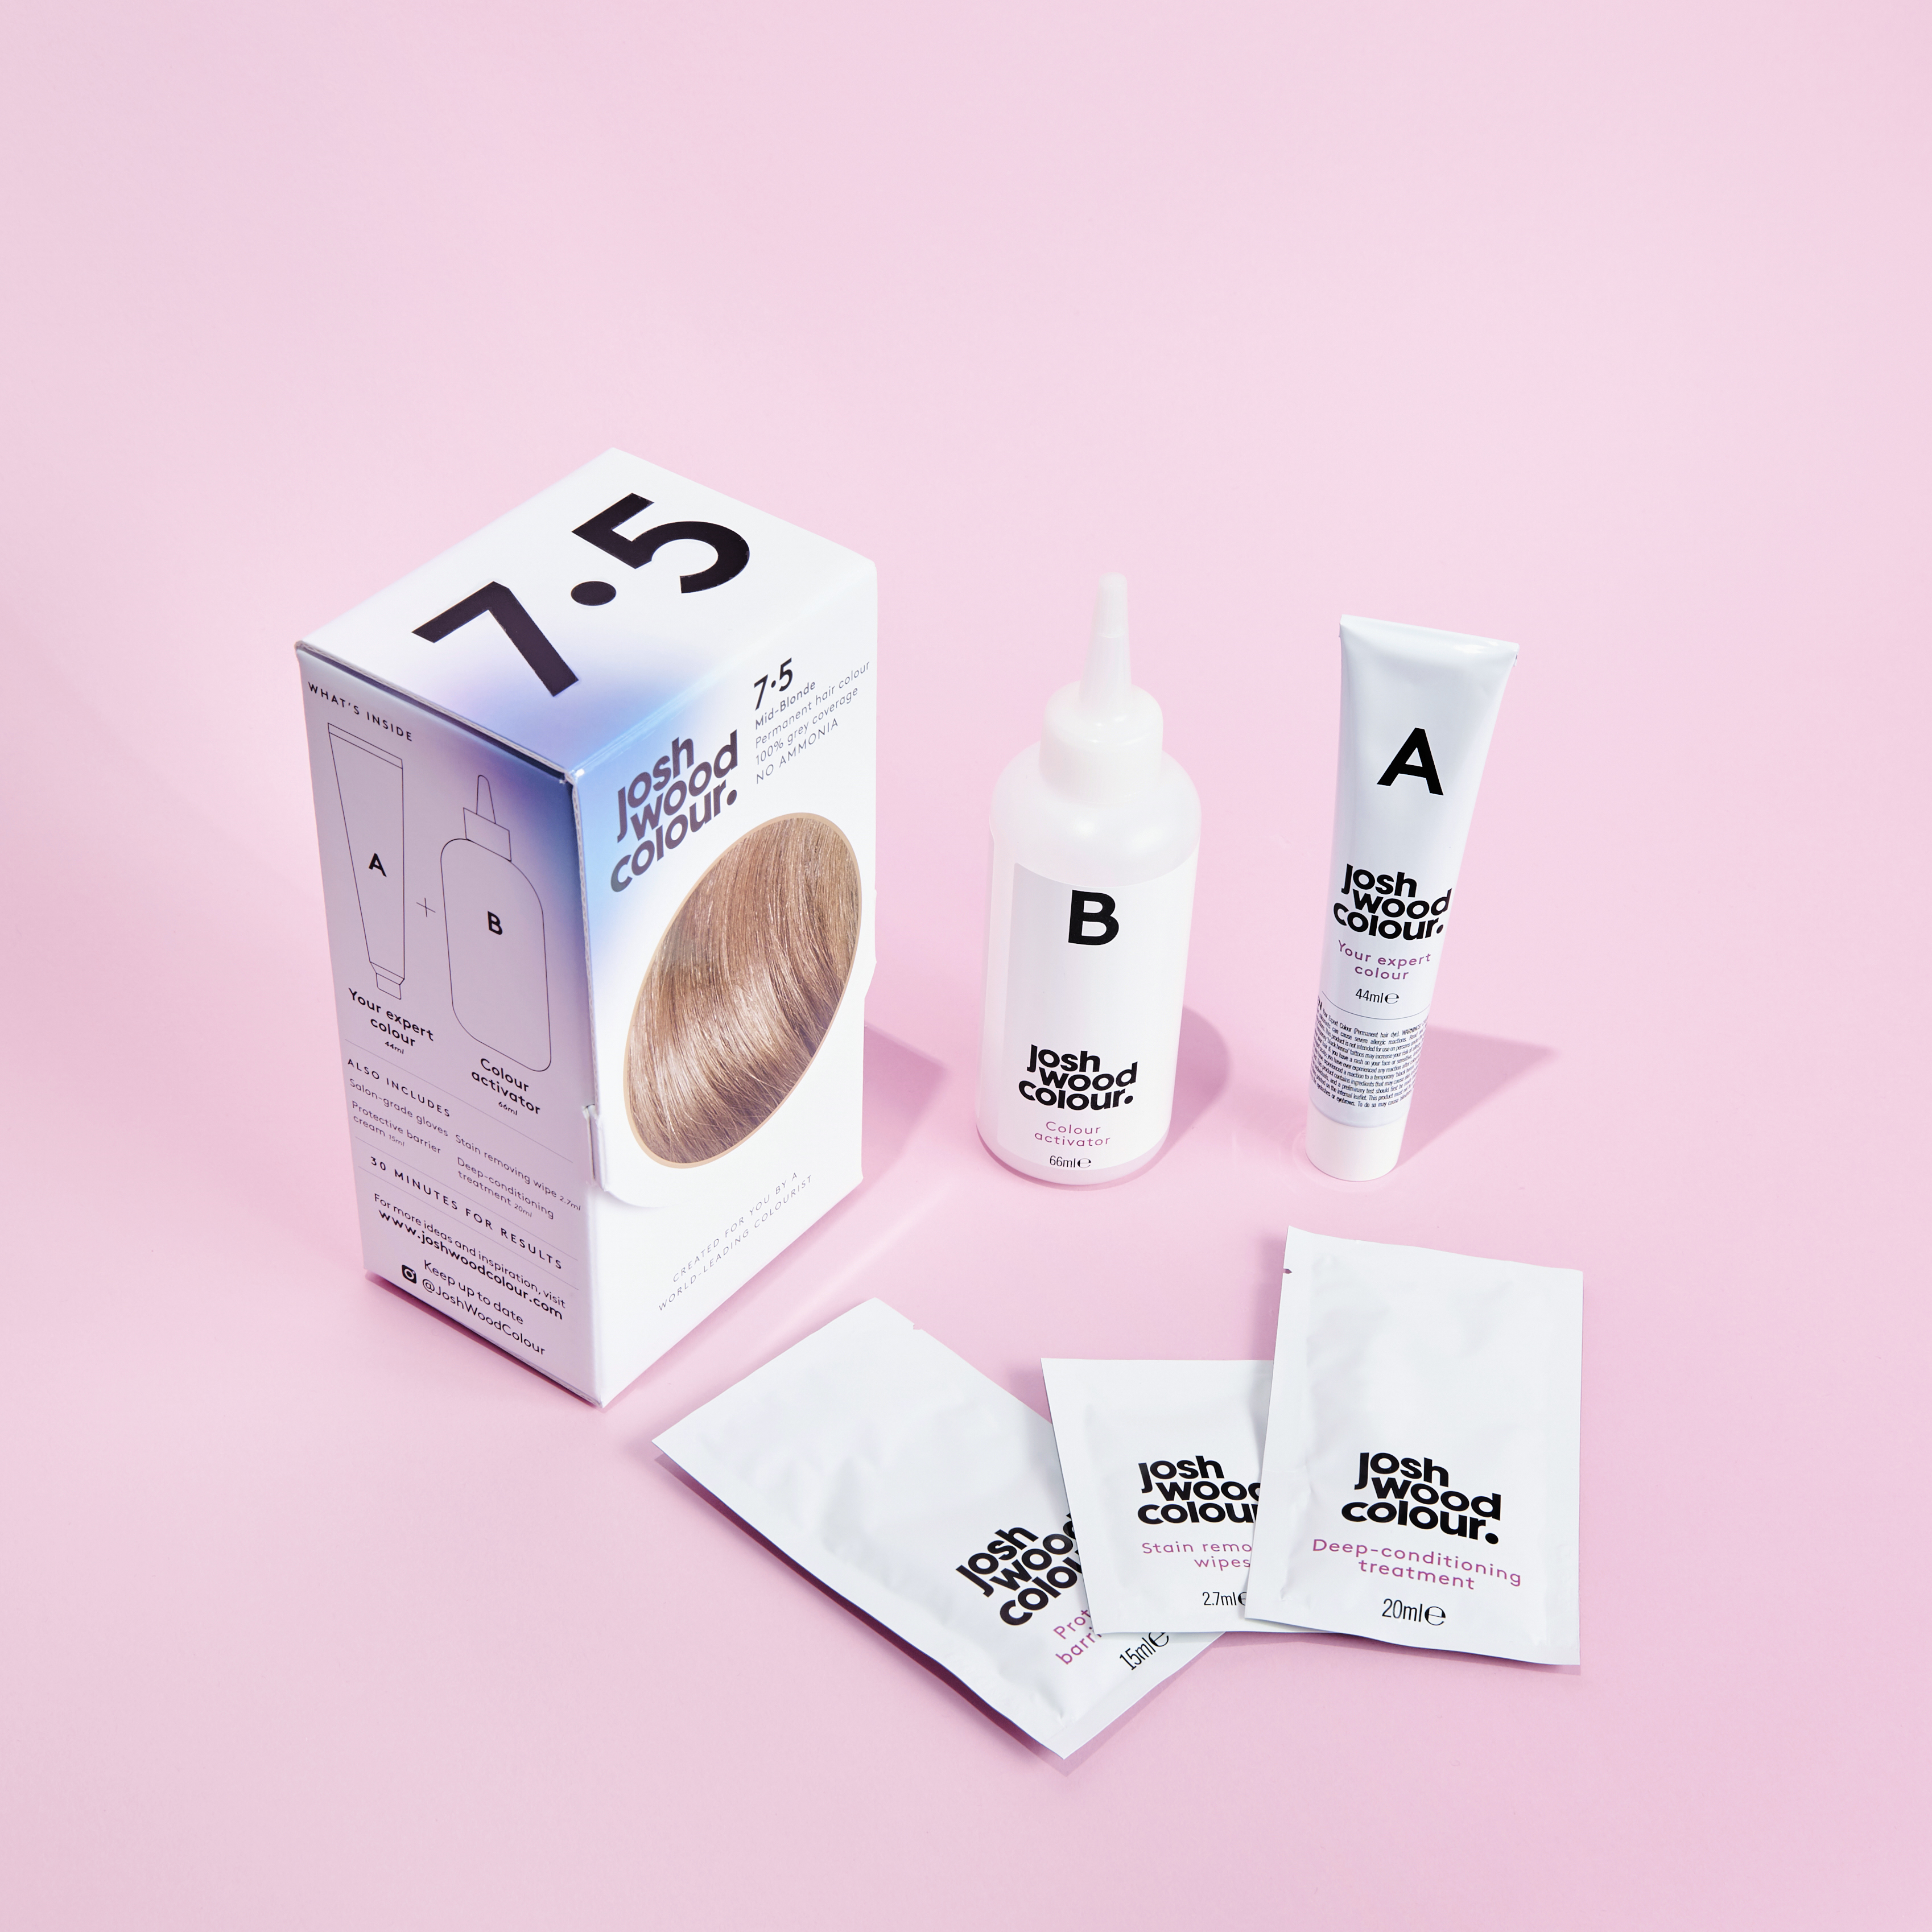
Permanent Colour and Shade Shot Plus
Applied together, this expert duo are ammonia free and give 100% grey coverage with natural-looking tones that are unique to you.

Colour Accessories Kit
Our new colour accessory kit, designed by Josh, to ensure easy, precise and mess-free application. Includes a bowl to mix your colour, activator and shade shot plus, clips to help section and hold hair back for easier application and brush to help with precise, full grey coverage.
How do you use Josh Wood Colour?
Start by squeezing and dotting right down the hairline and then with your fingers gently massage that in, pushing the colour into your roots. Always start your application where you feel the grey hair is most resistant, and for most people that is on the hairline.


